
Planning the portraits for my creative business website
Planning my portraits was one of the most considered parts of building my new site, and I wanted to share how I approached it — from choosing the photographer to selecting the final edit — in the hope that it helps you plan your own.
Finding the right photographer
Yolly (Yolanda Chiaramello) is a close friend and the talented owner of a floristry studio of the same name. I've worked alongside her as a freelance florist, and I knew from that experience that she has a real eye — not just for flowers, but for light, composition, and atmosphere.
We did a skill swap: floristry in exchange for photography. If you're setting up a business and working with tight budgets, this is worth considering. Think about what you can offer in return for the skills you need, and look to your existing network first. The result, for both of us, was a collaboration that felt easy and genuinely enjoyable.
What makes a useful set of website portraits
Before the shoot, I thought carefully about what the photographs actually needed to do. My website has two natural homes for a portrait: the homepage and the about page. They serve different purposes — one is a first impression, the other is an invitation to go deeper — and I wanted the images to reflect that.
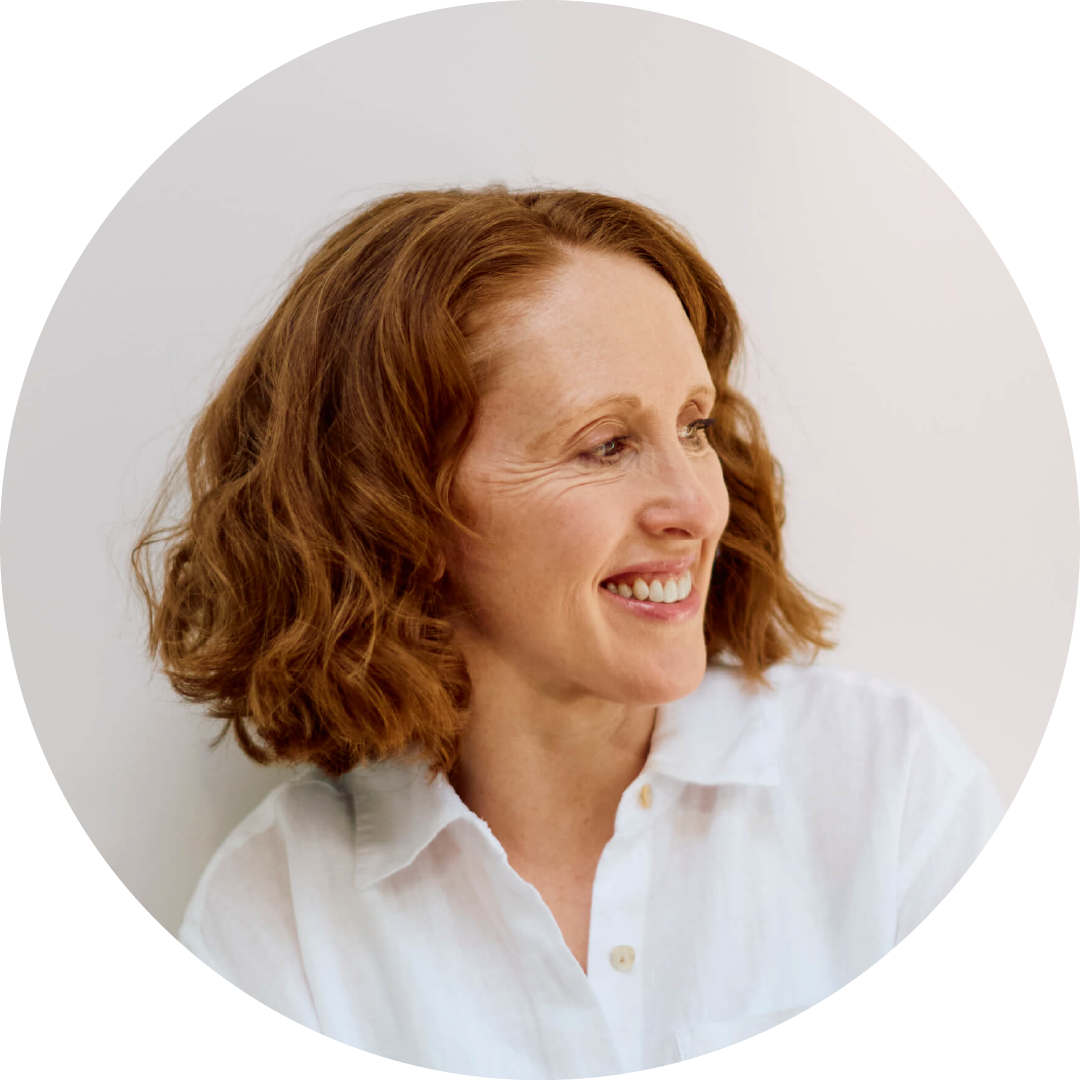
My approach was to plan for two shots that tell the same story (same setting, same outfit, same light), but with different energy. A direct, to-camera portrait is powerful for emotional connection — it holds the viewer's gaze and builds trust quickly. A more relaxed, looking-away shot has a different quality: warmer, more considered, less posed. Together, they give a more complete picture.
Keeping everything consistent — background, clothing, lighting — means the two images read as a pair even when they appear on different pages.
When I work with clients on their websites, I talk to them about the portraits I need from them and give advice about styling. If you’re working with a designer, make sure they can give you similar advice so you get the shots that they need,

Looking away from the camera portrait

Looking towards the camera portrait
Communicating with the photographer
This is where the preparation really matters. I use Pinterest to gather portrait references that fit my brand styling, and before the shoot, I put together a curated selection to share with Yolly. Importantly, I didn't just send the images — I wrote a specific note about each one, so we were both clear on what I was responding to and what I wasn't.
Here's how that looked in practice:
"Love the curtain backdrop but the shadow on the face is too extreme"
"Like the white shirt and neutral background"
"Quite like the pose but the face is too serious"
"Like the pose and smiling to camera, but not the shirt — and think the whole thing might be too washed out"
"Like the textures"
That level of specificity — identifying exactly what's working and what isn't — means you arrive on the day with a shared visual language. It also helps you stay on track during the shoot itself, when decisions need to be made quickly.
This kind of clarity comes more naturally when you have a strong sense of your brand's visual identity: the colours, the mood, the feeling you want your business to project. If you're not sure where to start with that, it's something I work through with clients as part of my brand strategy and styling service — and it tends to make every subsequent creative decision, including a shoot like this, considerably more straightforward.
Planning the shoot
We planned for two distinct looks, both rooted in my brand styling.
The first was light and airy: a plain wall, soft natural light, a clean and minimal feel. The second introduced more depth — a dark green backdrop that Yolly brought along, which gave a warmer, richer tone. Both directions are present in my brand palette, so both felt right rather than like a backup plan.
Throughout both setups, the constants were: the same white shirt, minimal makeup, and natural hair. Not fussy or overstyled. The brief I had in my head was: simple, approachable, warm. For some shots I stood up, but for others a stool was useful for giving structure to poses without things feeling stiff. And the location was my kitchen, which is flooded with natural light at the right time of day — I cleared the walls to create a blank canvas.
One practical detail worth noting: if you're shooting at home, look at your space with fresh eyes beforehand. Remove anything that would date the image or pull focus. The simpler the background, the more the portrait does its job.
Communicate with your photographer at every stage of planning the shoot. Do they have a studio, or location in mind you can use? Who is responsible for props, a backdrop? How long do you have for the session? How many images will you end up with as part of your package? It’s better to ask these questions beforehand than on the day.
Choosing the final edit
I looked for shots that cropped cleanly into a circle, which is how profile pictures appear across most platforms, and I tested this as I reviewed. These images need to work at a very small scale so I make sure to check them this way too.
I looked for shots that felt like me — not a performance of confidence, but actual ease. I came back to my brand guidelines: warm, approachable, considered. And I trusted that filter.
If a shot looked technically strong but made me feel self-conscious, it wasn't right. The portraits on your website will be seen more than almost any other image associated with your business. It's worth holding out for the ones that feel true to you.
Photography: Yolanda Chiaramello / Retouching: Erroll Jones at We Shoot London
If you're looking for a photographer for your own portrait shoot, Yolly is available for London-based commissions. The investment starts at £300 for a four hour shoot which covers two portraits and includes retouching.